Often, I get asked about my design process. It’s slightly different for each project but the basic steps are usually:
- Hand-draw illustration in sketchbook
- Scan the illustration.
- Convert scanned illustration to vectors using software (Adobe Photoshop + Illustrator).
- Digitally colour illustration and make any tweaks required!
Sometimes I also make tweaks between steps 1 and 2, or steps 2 and 3. Either by redrawing my illustration in the sketchbook or by photoshopping elements on the scanned version.
Not making any sense? Let’s look at a case study instead – my rainbow cloud enamel pin.
HEAD IN THE CLOUDS
Who doesn’t love rainbows?
This cute and whimsical rainbow pin was designed for those with a quirky personality. It adds a pop of colour and whimsy to any pin collection and is one of my absolute favourites. I always feel a real affinity with those who choose to buy it – because, like many, I’m a daydreamer at heart.
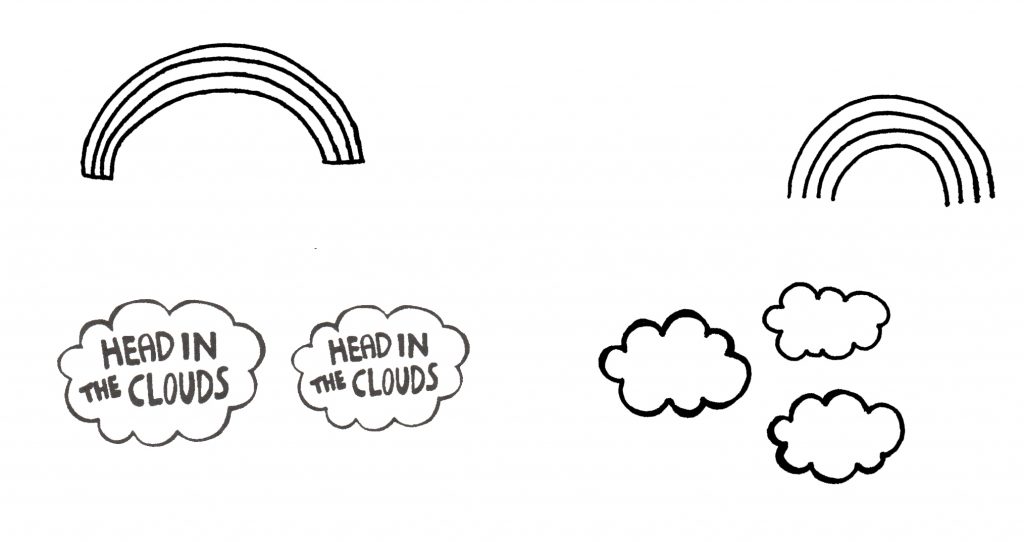
This pin began life a little disjointed. I drew the rainbow and the clouds separately so that I could digitally piece them together. This allows me greater control over each separate element. Just look how wonky my drawings are!
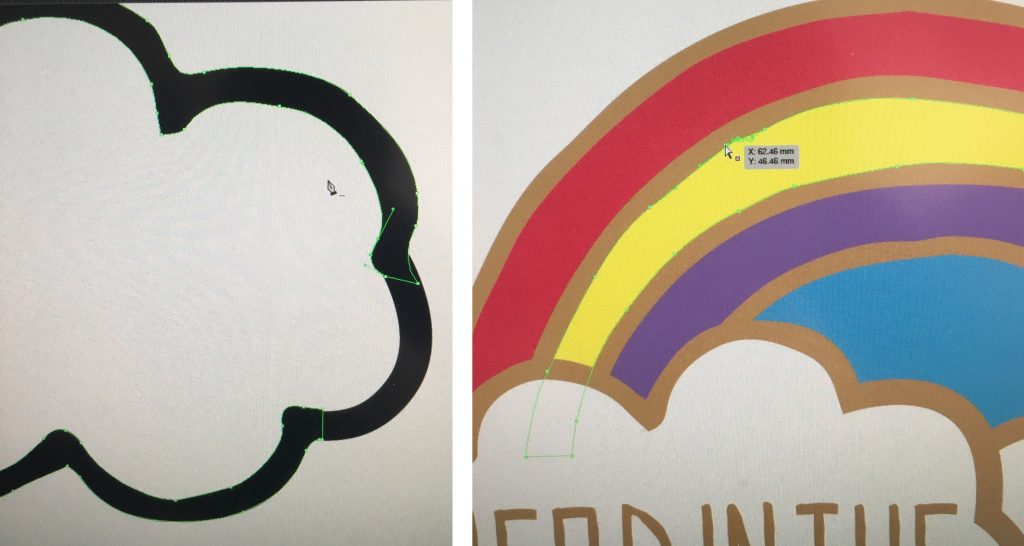
After scanning, I converted my illustration to vector. This means the lines become smooth curves and I can easily edit the design plus add colours.
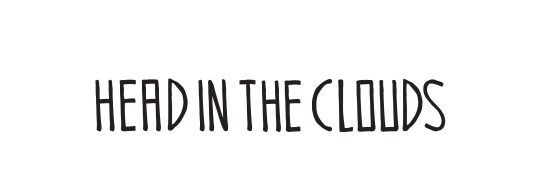
Although I liked the concept, this design wasn’t cutting it. Using hand-lettering to reinforce the quirky feel of the design was paramount – but I just didn’t like my lettering! Luckily, I previously created a full alphabet of awesome hand-drawn type for my Ladykerry business logo and was able to bring that in as a replacement.
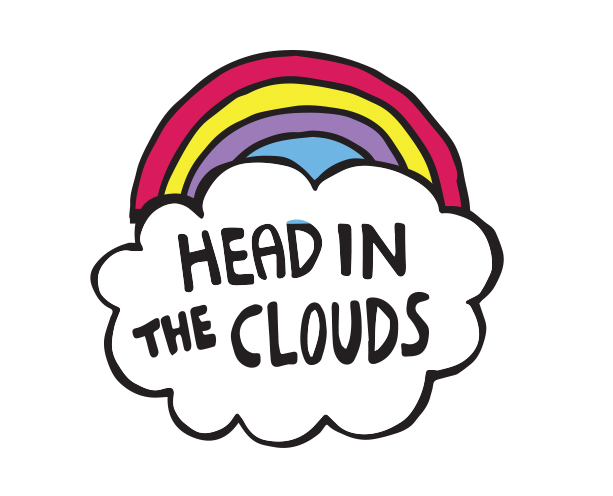
Now, to the small matter of the cloud. It just wasn’t sitting right with the rainbow. Then it hit me. Head in the clouds. This design needed more than one cloud!
Using my software programs, I played around with bringing a second cloud in until I got a layout I was relatively happy with. Then – it was back to pen and paper (my favourite bit). I printed out my interim design and used a good old fashioned lightbox to draw loads of new clouds to fit the new layout. The cloud overlap had to be perfect and sometimes I just prefer to play around with paper rather than do it digitally.
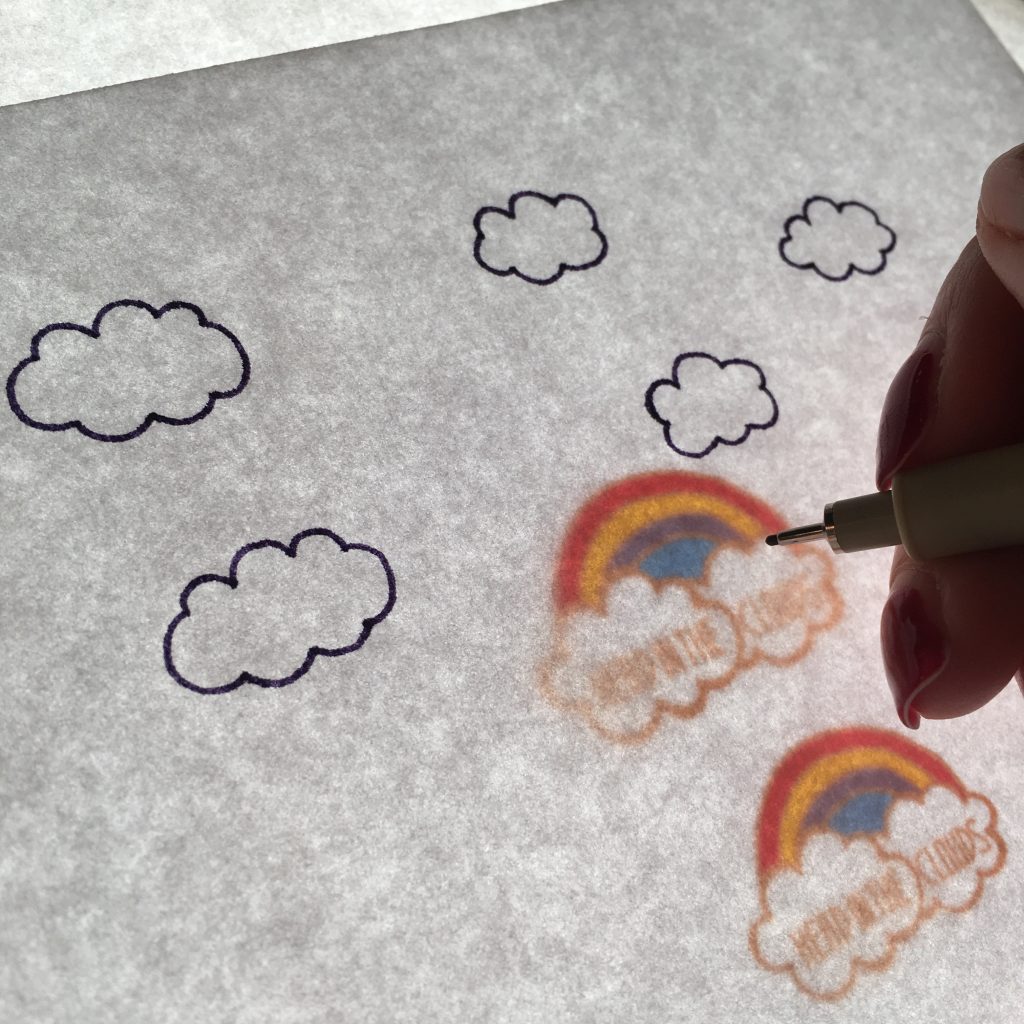
Like before, I scanned these new cloud sketches and converted to vectors. I added the new clouds to the design for some final tweaking… this time, digital tweaking. I modified the lines on the clouds and rainbow so that they were “perfectly imperfect” – a truly quirky design!
LAST MINUTE DREAD
Then, as usually happens, I had some last minute nerves. Wonky, hand-drawn lines are my thing but clean digital lines are popular. I redrew the rainbow digitally to create some perfect clean curves (this version is shown on the right hand side in the image below).
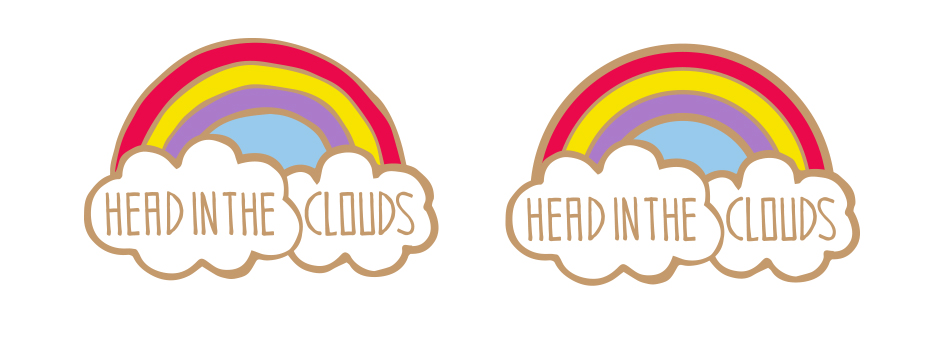
To help decide between these two versions I asked my favourite consultants – you guys! The end result was relatively close but my original, wonky lines won the day. You all felt that they conveyed the whimsical message the best. Thank you!
ONE FINAL DECISION
There was one final step to my head in the clouds pin.
I had to decide between soft enamel and hard enamel. As a short summary, soft enamel has a raised look where the plating meets enamel fill areas. Hard enamel is flush between the plating and enamel fill, and feels smooth to touch.
The answer was obvious to me – is it obvious to you? I felt the raised look of soft enamel would add to the quirkiness of the pin and highlight the ‘head in the clouds‘ message.
So there we have it. A summary of all the steps I took to design my head in the clouds pin. What do you think – was it interesting to hear about? Would you like more insights into individual designs – or would you prefer I keep the (quite frankly boring and technical) ‘magic‘ behind my designs secret?
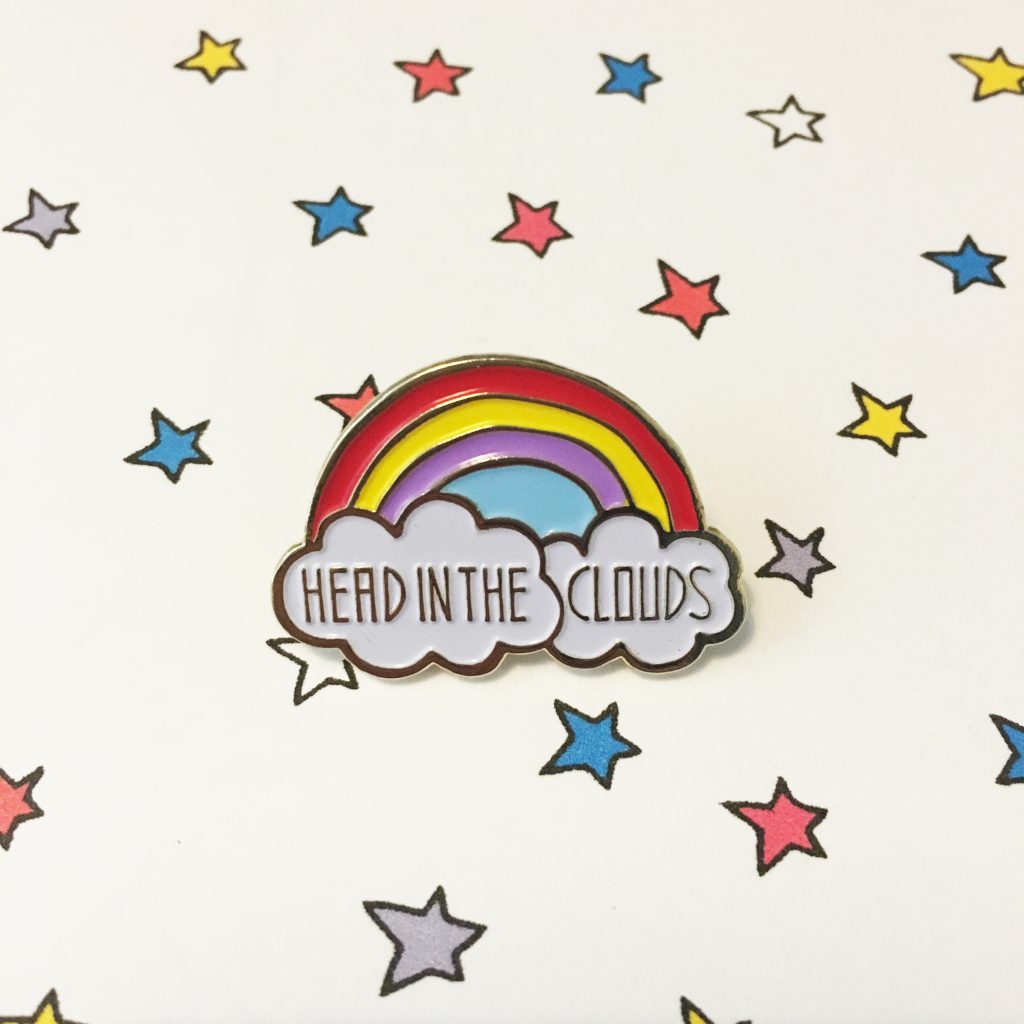
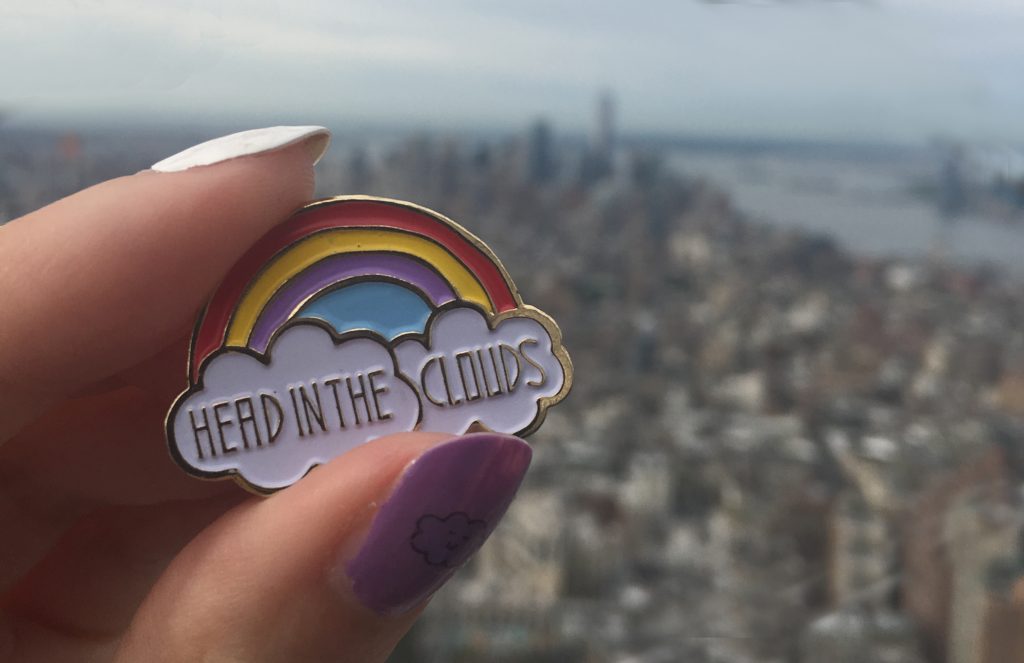
If you did find it a bit on the boring side, I’ll leave you with this exciting fact. The above photo is my head in the clouds pin hanging out at the top of The Empire State Building. How far have you taken your Ladykerry pins?